Does your front-desk staff spend the first 30 minutes of every morning sorting through a paper register, ticking off who showed up and who didn't? Or worse — do you suspect that a few members are signing in for each other to keep their attendance "active" and avoid losing their plan? If either scenario sounds familiar, you're not alone. Thousands of Indian gym owners deal with exactly this problem every single day.
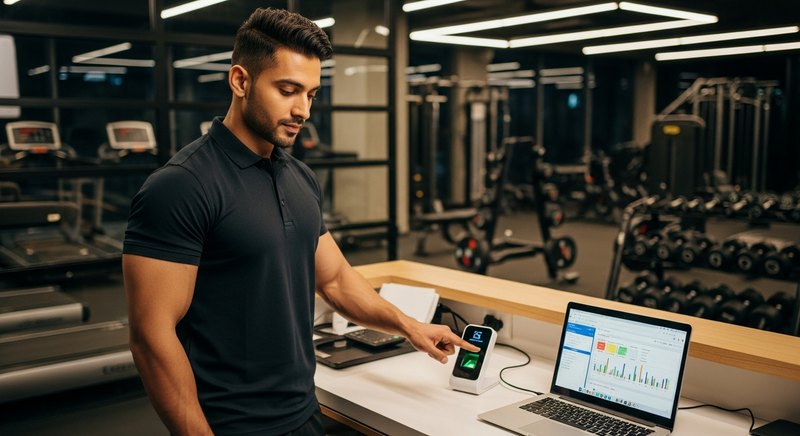
Gym biometric attendance software changes all of that. Instead of relying on registers, manual swipes, or even QR codes that can be screenshot-shared, a fingerprint or face recognition device confirms identity at the door — no exceptions. When you connect that device to MyGymDesk's biometric attendance feature, every check-in is logged automatically against the correct member profile, attendance reports update in real time, and your front desk is finally free to do something more valuable.
This guide walks you through the entire process: from choosing supported hardware to the final step of reading your attendance dashboards.
Why Manual Attendance Is Costing Your Gym More Than You Think
Before we get into the setup, let's talk about what manual attendance actually costs you.
A typical gym with 300 active members handles anywhere from 80 to 150 check-ins per day. If a staff member spends even 15 seconds per member on a manual register — finding the name, confirming the date, ticking the box — that's 37 minutes of pure admin work, daily. Over a month, that's nearly 19 hours of paid staff time spent on a task that should take zero human effort.
Then there's the proxy problem. Two friends join the gym together. One stops coming but the other signs in for both to show "active" attendance — a common reason why renewal follow-ups go nowhere. You're chasing a ghost.
Switching to automated gym check-in removes both problems completely. Your team focuses on member experience; your software handles the paperwork.
Supported Hardware: eSSL, ZKTeco, and More
MyGymDesk supports integration with the most popular biometric device brands used across Indian gyms and fitness centres, including:
Both fingerprint and face recognition devices are supported. If you're setting up a new gym, a mid-range eSSL fingerprint device typically costs between ₹3,500 and ₹8,000 — a one-time investment that pays for itself within a few weeks of saved staff hours. For premium setups, a ZKTeco face recognition terminal runs between ₹12,000 and ₹25,000 and eliminates contact entirely (ideal in post-pandemic gym environments).
If you're still in the planning stage and want to factor hardware costs into your overall budget, use the gym equipment cost calculator to get a realistic number before you purchase.
Pre-Setup Checklist Before You Begin
Getting the integration right the first time requires a bit of groundwork. Run through this checklist before you touch any settings:
How to Set Up Gym Biometric Attendance in MyGymDesk
Once your checklist is complete, the actual setup inside MyGymDesk takes less than 10 minutes.
Step 1: Navigate to Biometric Settings
Log in to your MyGymDesk account and go to Settings → Integrations → Biometric Devices. Click Add New Device.
Step 2: Enter Device Details
Fill in the following:
Click Test Connection. If the connection is successful, you'll see a green confirmation. If it fails, double-check that both the device and your network are on the same subnet.
Step 3: Sync Members to the Device
MyGymDesk will prompt you to sync your member database with the biometric device. You can:
Each member is assigned a unique User ID that maps to their MyGymDesk profile. This is what links a fingerprint scan to a name, membership plan, and attendance record.
Step 4: Enrol Fingerprints or Faces
For existing devices that already have fingerprints enrolled, MyGymDesk will import those records if the User IDs match. For new members or new devices, enrolment happens directly on the device:
For gyms with high footfall, it's worth enrolling two fingers per member (index and middle) to account for minor cuts or dry skin affecting scan accuracy — a common issue during Indian winters.
Step 5: Configure Attendance Rules
Back in MyGymDesk, go to Settings → Attendance Rules to configure:
This last setting is particularly powerful. Instead of relying on your front desk to remember who's due for renewal, the system flags it automatically at the point of entry — a natural trigger for a renewal conversation.
How Attendance Data Flows Into Member Profiles and Reports
This is where the real value becomes visible. Every scan made at the biometric device syncs to MyGymDesk within seconds and is recorded in three places:
1. Member Profile
Each member's profile shows a full attendance log — date, time, and which device they scanned at. This is useful when a member claims they attended but their plan expired: you have irrefutable proof.
2. Daily Attendance Report
Your dashboard shows today's attendance in real time: who's checked in, who's currently in the gym, and who hasn't visited in a set number of days. You can filter by membership plan, trainer, or batch — useful for class scheduling and batch management.
3. Automated Follow-Ups
Members who haven't checked in for 7, 14, or 30 days can be automatically flagged for a WhatsApp re-engagement message. Combine this with WhatsApp automation in MyGymDesk and you have a hands-free retention system that reaches out to at-risk members before they quietly cancel.
The attendance data also feeds into member management workflows — renewal reminders trigger based on actual visit history, not just calendar dates, making your follow-up far more targeted.
Biometric vs QR Attendance: Which Should You Use?
MyGymDesk supports both biometric and QR code-based attendance. The right choice depends on your gym's setup:
| | Biometric | QR Code |
|---|---|---|
| Proxy prevention | ✅ Complete | ⚠️ Possible to share |
| Hardware cost | ₹3,500–₹25,000 | ₹0 (phone-based) |
| Setup complexity | Moderate | Very easy |
| Speed at peak hours | Fast (1–2 sec) | Fast (2–3 sec) |
| Works without internet | ✅ Yes (local sync) | ❌ Needs connectivity |
For most gyms with 150+ members, biometric is the recommended option because proxy check-ins become a real problem at scale. For smaller studios or boutique fitness centres, QR attendance is a perfectly capable alternative.
If you're managing a large multi-activity fitness centre, you might even run both — biometric at the main entrance and QR for specific class check-ins. The MyGymDesk gym management software supports both systems running simultaneously.
Common Issues and How to Fix Them
Device shows "Connection Failed" in MyGymDesk
→ Confirm the device and your server are on the same network. Check the firewall isn't blocking the port (default 4370). Restart the device and try again.
Member scans successfully but attendance doesn't appear
→ Check that the member's User ID in MyGymDesk matches the User ID enrolled on the device. A mismatch (common after manual enrolment) breaks the sync.
Fingerprint not recognised
→ Clean the sensor with a dry cloth. Ask the member to re-enrol. Enrol a backup finger. Dry or calloused hands (common among construction workers, athletes) sometimes need face recognition as an alternative.
Duplicate entries in the attendance log
→ Enable the duplicate check-in prevention rule under Attendance Settings (5-minute cooldown is recommended).
Practical Tips for a Smooth Rollout
The Bottom Line
Setting up gym biometric attendance software with MyGymDesk is genuinely one of the highest-ROI changes you can make to your gym's operations. You eliminate proxy check-ins, free up front-desk time, gain accurate attendance data, and create automatic triggers for renewals and re-engagement — all from a one-time hardware purchase and a 10-minute software setup.
Whether you're running a standalone gym, a fitness centre, or a multi-location chain, the process is the same: connect your eSSL or ZKTeco device, sync your members, and let the software handle the rest.
Ready to see it in action? Book a free MyGymDesk demo and our team will walk you through the biometric setup live on your account — including checking compatibility with your existing device. Or, if you'd like to explore the full feature set first, start your free trial and set up biometric attendance yourself in under 15 minutes.